顶边栏完成了,现在先把首页做好
让我们先新建一个 src/views 文件夹,用来存放官网的主要视图
然后在该文件夹下新建两个 vue 文件,作为我们的视图
Home.vue,首页Document.vue,文档页
再配置一下 router.ts 来实现跳转
1 | // router.ts |
骨架
先搭建一下首页的骨架
已知首页要显示
- 顶边栏
- 极光背景
- 两个跳转链接
- 三点特性
首先是极光背景,非常简单,用渐变色+转向当作背景色就可以了
然后三点特性,显然是无序列表
那么可以得到如下骨架
1 | <template> |
基本功能
然后在 script 中引入顶边栏
1 | import Topnav from "../components/Topnav.vue"; |
最后制作一下极光的样式表
1 | $color: white; |
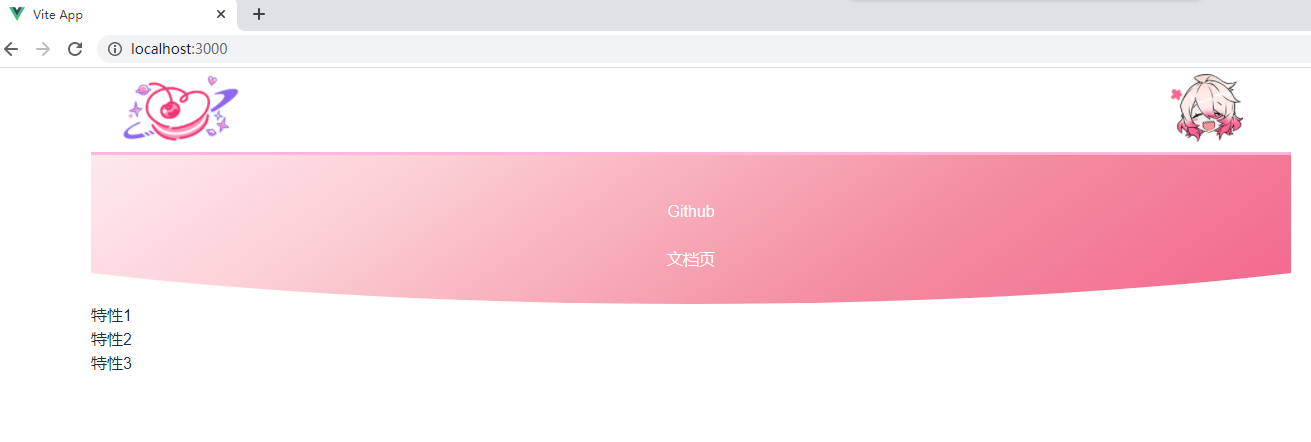
运行一下,得到了如下的效果
改进首页
那显然,特性应该单独占据一行,并且在宽度足够的时候横向排列
两个链接也最好横向排列,而且最好各自有点介绍
那么先修改模板
1 | <template> |
然后补全样式表
1 | $theme-color: #fe9acf; |
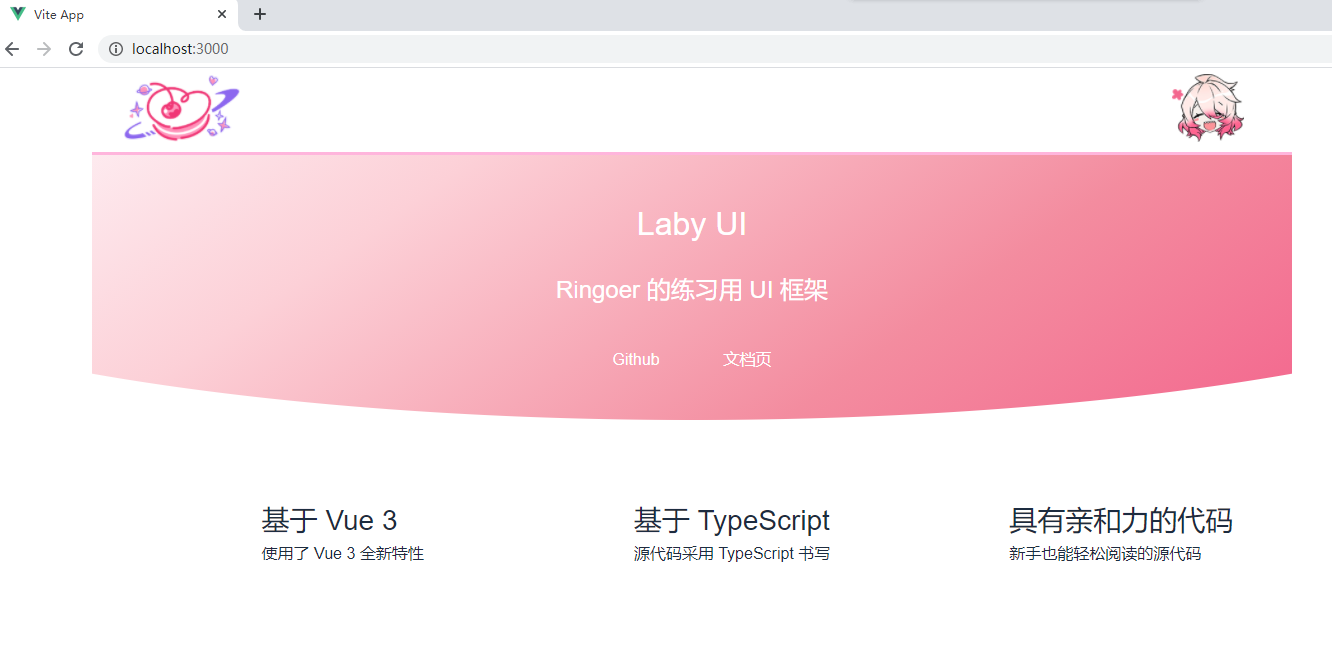
得到如下效果
svg
特性也太光秃秃了,加个 svg
1 | <div class="features"> |
然后补全 .features > ul > li > svg 的样式表,就可以了
1 | > svg { |
最后,再为两个跳转入口贴个图
1 | <div class="actions"> |
补个样式表
1 | .banner{ |
效果如图

这不是还挺好看的2333
感谢阅读